Pages

Tuesday, November 6, 2012

Cookie Dough Cake


I made my own birthday cake, and I'm proud. When I first told my mother that I planned to make my own cake, she told me it was sad and pathetic. She also said that no other cake that we could get would taste as good as a cake I made. Pathetic, but delicious.

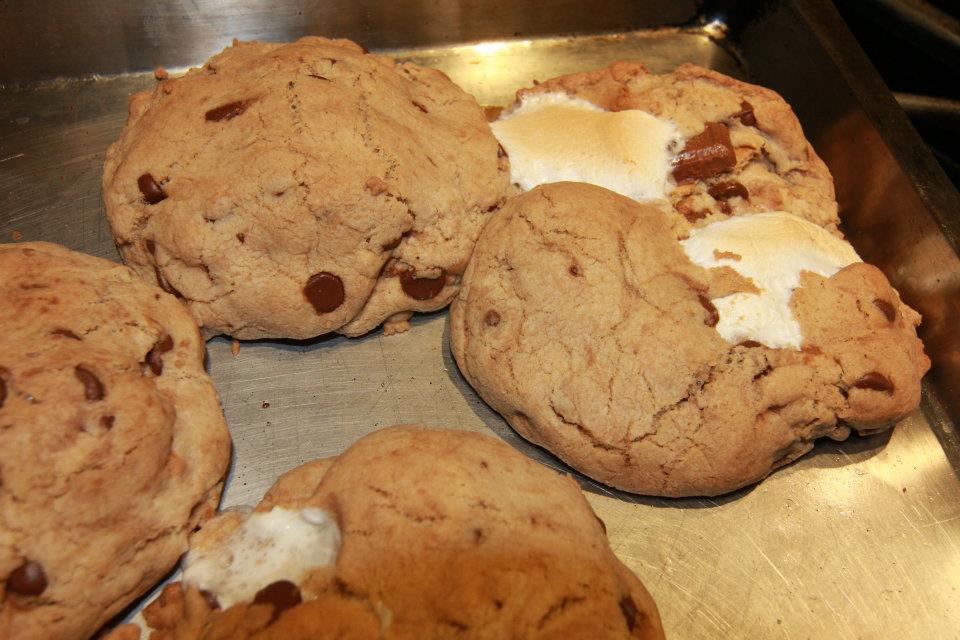
I love cookie dough, more than the cookies themselves. I'd just eat the dough if it was socially acceptable.
Now, because salmonella is not a good time, the cookie dough in this recipe is egg-less. This means that you can eat all you want without being lectured about food borne illnesses. You're welcome.
I used the cookie dough to fill in between the layers and as decoration. I doubled the recipe, since I had a bigger cake and I like a good amount of filling.


The frosting is a cookie dough-flavored buttercream, which kinda tastes like heaven. . I might even start using it on desserts that have no relation to cookie dough at all because it's so good. Also, I really liked the consistency because it was creamy, but firm enough for piping on decorations to make it pretty. My only complaint is that, because the recipe contains brown sugar, it is a teeny tiny bit gritty. I used a mix of dark brown and light brown because the recipe didn't specify (and I was running low on light brown). Maybe if I used only light brown, it would be less gritty.
I doubled the recipe, since I had a bigger cake and I wanted to decorate.

For the cake, I went for a layer of chocolate and a layer of yellow cake because it's a crowd-pleasing combo. The chocolate cake I made from scratch and it's my go-to recipe because it's always perfect. I tried out a yellow cake recipe and it was WAY too dense. It was like a pound cake, but denser. Gross. So, I got lazy and did a box mix for the yellow cake, but doctored it up a bit.


Yellow Cake Mix Doctored Up
1 box Betty Crocker Super Moist Yellow Cake Mix
Prepare the mix as the box instructions say EXCEPT:
-add 1 more egg than called for
-use milk instead of water


Chocolate Cake (from Hershey's)
Makes 2 9 in. rounds or about 24 cupcakes

2 cups sugar
1 3/4 cups all-purpose flour
3/4 cup HERSHEY'S Cocoa
1 1/2 teaspoons baking powder
1 1/2 teaspoons baking soda
1 teaspoon salt
2 eggs
1 cup milk
1/2 cup vegetable oil
2 teaspoons vanilla extract
1 cup boiling water


Cookie Dough Buttercream (from Baking Junkie)

3 sticks salted butter, room temperature
3/4 cup packed brown sugar
3 1/2 cups powdered sugar
1 cup flour
3/4 tsp salt
3 Tbsp milk
2 1/2 tsp vanilla

Cookie Dough Filling (also from Baking Junkie)

4 Tbsp salted butter, at room
6 Tbsp packed brown sugar
1/2 tsp vanilla
1 cup + 2 Tbsp flour
7 oz (1/2 can) sweetened condensed milk
1/4 cup mini semi-sweet chocolate chips

For the Chocolate Cake

1. Heat oven to 350°F.
2. Grease and flour two 9-inch round baking pans.
3. Stir together sugar, flour, cocoa, baking powder, baking soda and salt in large bowl. 
4. Add eggs, milk, oil and vanilla; beat on medium speed of mixer 2 minutes. 
5. Stir in boiling water (batter will be thin)
6. Pour batter into prepared pans.
7. Bake 30 to 35 minutes or until wooden pick inserted in center comes out clean and let cool.

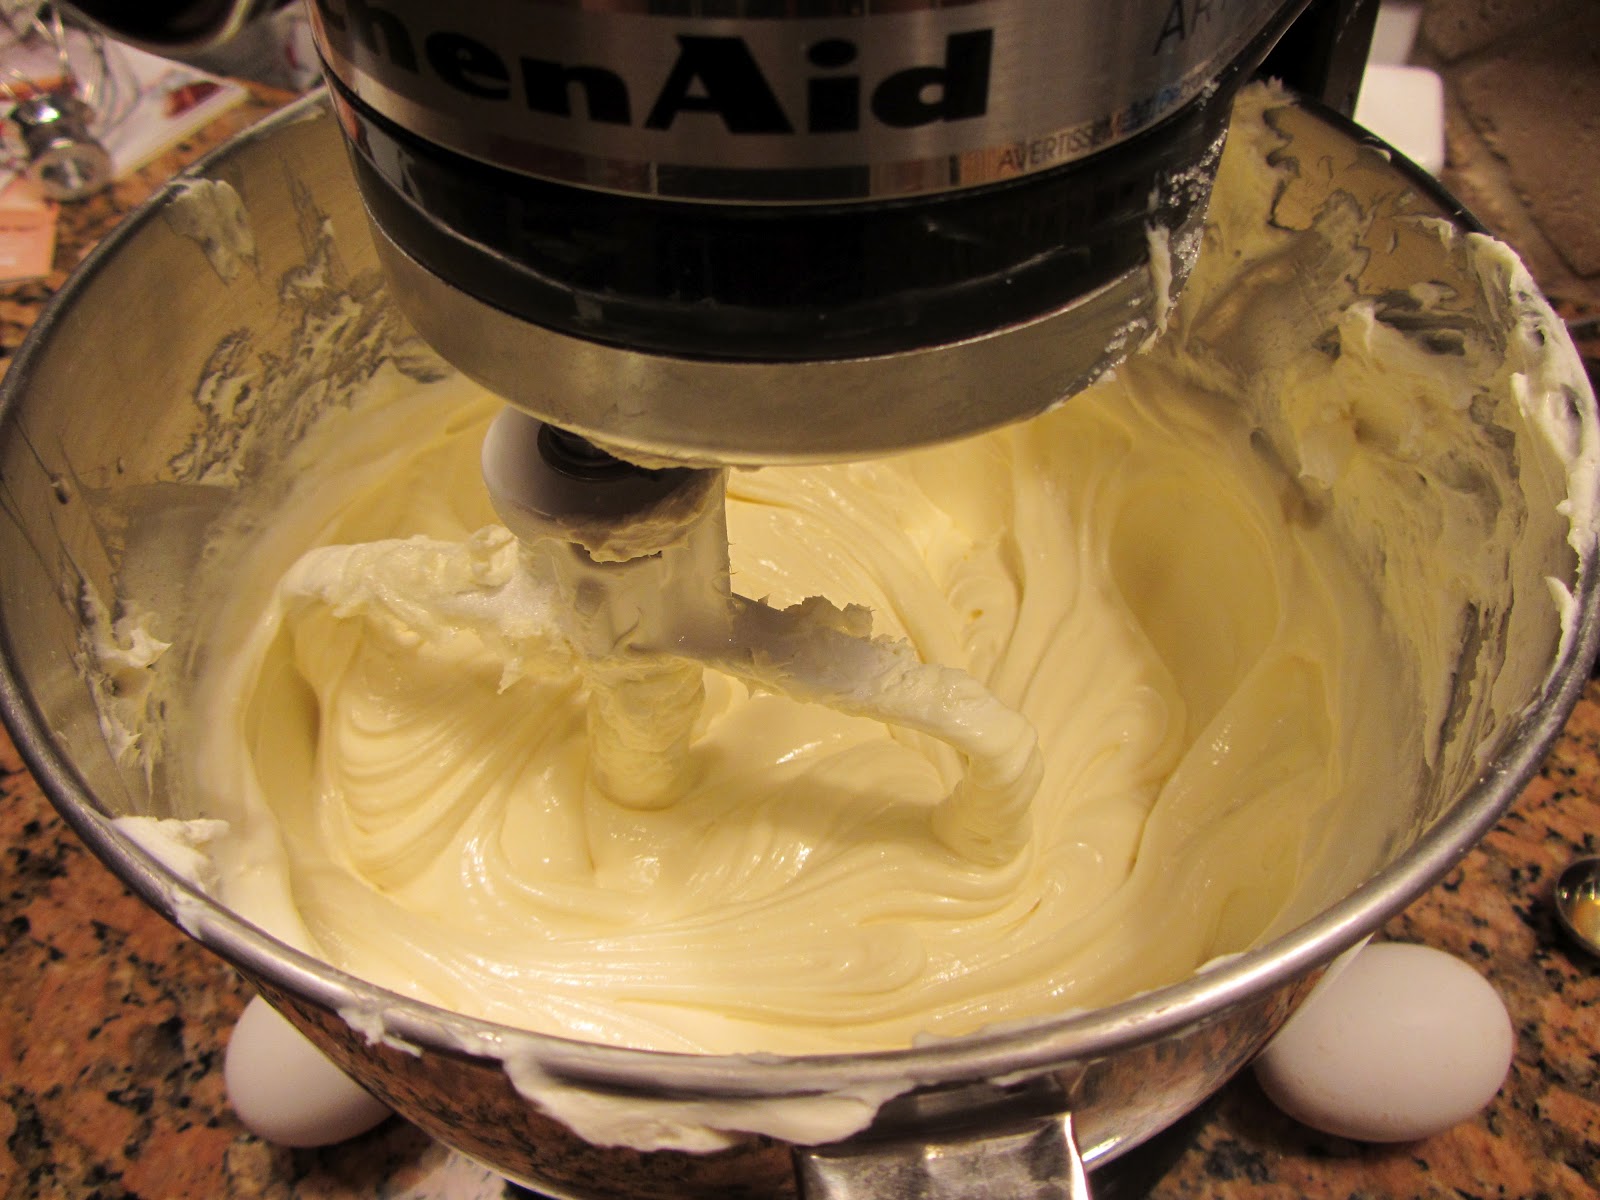
For the Cookie Dough Buttercream
1. Cream together butter and brown sugar. 
2. Add powdered sugar in increments until smooth. 
3. Add in the flour and salt
4. Add the remaining liquid ingredients.
5. Mix until all ingredients are combined and frosting is smooth.

For the Cookie Dough Filling
1. Cream together butter and brown sugar for approximately 2 minutes. 
2. Add in vanilla, then flour, and lastly sweetened condensed milk. 
3. Stir in chocolate chips (by hand)
4. Place filling on top of one layer of cake and spread out evenly. 
5. Top with remaining cake layer.


Saturday, September 22, 2012

Cupcake Decorating 101


     When it comes to baking, my specialty is definitely cupcakes. To frost my cupcakes when I'm using a buttercream or cream cheese frosting, I will usually just cut a disposable pastry bag at the tip to make a wide opening and I make a swirl on the cupcake. It's just a simple, pretty way to top a cupcake.
     My friend's mother has become an extremely talented cake decorator. I walk into their house and the kitchen is covered in fondant flowers and buckets of frosting. I became inspired to try more advanced techniques because people go nuts for that kind of stuff.
     I LOVE shopping. Mainly for clothes and shoes and bags and makeup and jewelry...BUT shopping for baking supplies is just as fun! So I hit up the nearby Michael's and found some new frosting tips. Let me tell you, the amount of frosting tips is pretty overwhelming and they all start to look the same. So here's a little buying guide, how-to, and a demo of each of the tips. P.S. There are TONS of decorating tutorials on YouTube if you need more visual instructions :)


#1M: A very popular tip with decorators (and my new personal favorite) is the Wilton #1M tip. I love it because it's so versatile. You can make stars, swirls, borders, and roses with this tip.
         
How-to (swirl 1): Using the 1M tip, pipe a border around only the outer edge of the cupcake. Stop pressure and pull the tip away. Pipe a second spiral in the center of the cupcake and pull away at the top of the spiral.
How -to (swirl 2): Using the 1M tip, pipe a border around only the outer edge of the cupcake. Stop pressure and pull the tip away. Position the piping bag about 1/4'' above the center of the cupcake, and press down with light pressure to create a star in the center.
How-to (swirl 3): Hold piping bag about 1/4'' above center and put pressure until the cupcake is almost completely covered. Stop applying pressure slightly and lift up a little, then twist the bag slightly and put more pressure to create a second layer. Then do this one more time, twisting again, on top of the second layer.
Rosettes: Start from the center, and continue going around the cupcake. Each ring of frosting should slightly overlap the previous one. Finish on the outside edge.


#4B: The 4B tip is an open star tip. It can create stars (big surprise), shell borders, and a basket weave.

Shell Border: Holding the icing bag parallel to the surface, apply moderate pressure to create a small bulb of frosting. Gently, decrease pressure and pull away from the bulb. Without pulling away, create another bulb of frosting almost overlapping the previous bulb. Continue until finished with border.
Star: Apply pressure and release. 
Basket Weave: A lot of people use a flatter tip for a basket weave, but the 4B works for a thicker weave. First, make a vertical line with the frosting. Over the line, create 3 (or more) short, horizontal lines (like the stitching on a football). Draw another vertical line, parallel to the first, about a centimeter away from the first. In the empty space in between the two vertical lines, start one of the short horizontal lines for the second line. The horizontal line should go from the gap to the other side of the second vertical line. Repeat.

#12 Round Tip - great for outline, lettering, dots, balls and beads (which looks great as borders)
I have been looking for a really really REALLY big round tip. However, this was the biggest I could find. It won't make swirls as well as a larger tip would, but it does make some other useful designs and borders.

Dots: Position icing bag right on top of surface, apply pressure, release.
Beading: (see shell border)

#104 Petal Tip - flower petals, ruffles, ribbon, and bows.
I bought this tip to start practicing with roses and bows. That was a complete failure and I'm going to have to leave those to the experts because they're a whole lot harder than they look. I was able to make some ruffles with the tip, which also look impressive as borders.

Ruffle: Make the wider end of the 104 tip lightly touch the surface, with the narrower end raised. Apply even pressure as you move the bag up and down, moving across the surface.

Wednesday, June 20, 2012

Butter Beer Cupcakes

Maddy and Thomas are hardcore Harry Potter fans, so for their birthday I decided to make them Butter Beer cupcakes. The cupcakes are filled with a butterscotch ganache and topped with a butterscotch buttercream frosting. I was really skeptical about these cupcakes. I tried the Butter Beer at the Wizarding World of Harry Potter at Universal Studios and it was kind of weird. People either love it or hate it. These cupcakes, however, were PHENOMENAL and everyone loved them. I definitely would make them again.

The ganache should be liquid-y but not too thin


After they are cooled, you have to cut the centers of the cupcakes out. To make the holes in the cupcakes, I used a 1/4 teaspoon. You can also use an apple corer. Make sure you do not core all the way to the bottom, or the ganache will drip out :( 
Use a swirly motion to frost the cupcakes. For a little extra pizzazz, you can  decorate the tops of the cupcakes with some left over ganache. I made a little star design on the top of each.


Butter Beer Cupcakes (from amybites)

Makes 18 cupcakes

For the cupcakes:
2 cups flour

1 1/2 teaspoon baking powder
1/2 teaspoon baking soda
1/4 teaspoon salt
1/2 cup (1 stick) unsalted butter, softened
1/2 cup granulated sugar
1/2 cup dark brown sugar, packed
3 large eggs
1&1/2 teaspoon vanilla1 teaspoon butter flavoring
1/2 cup buttermilk
1/2 cup cream soda
For the ganache:
1 11-oz. package butterscotch chips

1 cup heavy cream
For the buttercream frosting:
1/2 cup (1 stick) unsalted butter, softened

1/3 cup butterscotch ganache
1 teaspoon vanilla
1 teaspoon butter flavoring
1/8 teaspoon salt
1 16-oz. package powdered sugar
Splash of milk or cream (as needed)
For the cupcakes:

1. Preheat the oven to 350 degrees and line cupcake pans with paper liners. 
2. Combine your flour, baking soda, baking powder, and salt in a bowl and set aside. 
3. In a large bowl, cream your butter until light and fluffy.
4. Add your sugars and beat until well-combined. 
5. Beat in your eggs, one at a time, mixing well after each addition.
6. Beat in your vanilla and butter flavoring.
7. Alternate adding your buttermilk, cream soda, and dry ingredients in batches until all are well     incorporated. 

8. Fill each cupcake liner 3/4 full
9. Bake for 15 to 17 minutes until a tester inserted into the center comes out clean and cake springs back to the touch. 
10.Cool completely on wire racks.
For butterscotch filling: 

1. In a double boiler (heat-proof bowl over a pot of simmering water on the stove), combine butterscotch chips and heavy cream and stir until completely combined and smooth.
2. Cool to room temperature.
3. Fill a squeeze bottle with ganache and insert into the center of each cupcake, squeezing until filling begins to overflow.
4. Set extra aside (it goes into the frosting and can be used for decoration later)
For buttercream frosting:

1. Cream butter in a large bowl until fluffy. 
2. Add in ganache, vanilla, butter flavoring, and salt and mix until well combined. 
3. Beat in powdered sugar 1 cup at a time until reaching desired consistency.
4.  Add milk or cream by the Tablespoon as needed. 
5. Frost cupcakes and top with a drizzle of butterscotch ganache.


Wednesday, May 2, 2012

Burgers & Buckeyes


First things first: if you did not just grunt at the photo above, sorry, you're not a true American. This past weekend the group got together and we cooked, ate, and took pictures (crazy Saturday night, what can I say). I had always heard how Thomas makes the best burgers, so I really wanted to try them out. These bad boys were heaven in a bun. I don't have a specific recipe for the burgers because Thomas is being a diva and refuses to disclose his secrets, but I did gather some tips for achieving burger perfection:
  • Put some ketchup & BBQ sauce into the ground beef for extra juice (about 1/4 cup of each per lb. of ground beef)
  • The burgers were about 4 inches wide and 1 inch thick
  • ALWAYS toast the buns. Nothing ruins a party like a soggy, pathetic bun.


Oh man, look at that juice
While Thomas was competing for America's Next Top Grill Master, I started baking. We had a ton of peanut butter in my house, A TON. I'm talking an industrial size vat of peanut butter. So, I was inspired to make one of my favorite candies, peanut butter buckeyes. 
For those of you who do not know what a buckeye is, it is a peanut butter ball dipped in chocolate, made to resemble the buckeye nut from Ohio. I'm not from Ohio, nor do I know many people from Ohio, but I do love peanut butter. And peanut butter with chocolate? Get outta town. That's gold.


The peanut butter mixture should be firm enough to hold a shape

Make sure that the chocolate is shiny and smooth and that there are no lumps. The chocolate should be a little  on the liquid-y side, so it is easier to dip the peanut butter balls into.

Peanut Butter Buckeyes
makes about 35 buckeyes

1 cup creamy peanut butter
1 stick salted butter (softened)
2 1/2 cups powdered sugar
1/2 teaspoon vanilla
1 cup milk chocolate chips

  1. In a large mixer, beat the peanut butter, butter, and vanilla at a medium to high speed until combined
  2. Gradually add the sugar and blend until combined
  3. Line a cookie sheet with parchment paper or aluminum foil
  4. Shape the peanut butter mixture into small balls, about 1 tablespoon of mix per ball
  5. Put the balls in the freezer for at least 15 minutes to harden. The more time they have to harden, the easier they are to work with
  6. Use a double boiler to melt the chocolate chips until smooth and shiny
  7. Using a toothpick, dip each ball in the melted chocolate, making sure the sides are even
  8. Once all the balls have been dipped, place the balls back into the freezer for 15 minutes or into the refrigerator for about 30 minutes until the chocolate has hardened

Monday, February 13, 2012

Oreo Cheesecake Cupcakes


I saw this recipe a while back and I knew that I HAD to make it. 
I'd like to start out by apologizing for the amateur photos. Maddy and Thomas were out of town this past weekend because they were visiting the Wizarding World of Harry Potter, so I had to handle the photography. I'm a baker, not a photographer (and I think the pictures show that).
I invited my best friend, Peyton, to help out and we got down to business.
Recipe below


First things first - line the cupcake trays. The whole Oreos act as mini-crusts!

   
Coarsely chopped Oreos - thank you, Peyton


Whenever I make cupcakes, I like to use an ice cream scooper to pour the batter in the tray. It's cleaner and all the cupcakes get an equal amount of batter. Because the Oreos were on the bottom, I couldn't fit an entire scoop in the cup, so it was more like 3/4 of a scoop. 

Also, we made WAY too much batter. Partly because we only bought one box of Oreos, so we only had enough for 24 cupcakes. I just put all the extra batter into some heart-shaped cake pans I found in my kitchen (perfect for Valentine's Day, right?)


The final product:


Cookies & Cream Cheesecake Cupcakes (from Handle the Heat)

Makes 30 cupcakes...or 24 and two heart shaped cakes.

Ingredients:

42 cream-filled sandwich cookies, such as Oreos, 30 left whole, and 12 coarsely chopped
2 pounds cream cheese, room temperature
1 cup sugar
1 tsp vanilla extract
4 large eggs, room temperature, lightly beaten
1 cup sour cream
Pinch of salt
  1.  Preheat oven to 275 degrees. Line standard muffin tins with paper liners. Place 1 whole cookie in the bottom of each lined cup.
  2.  With an electric mixer on medium high speed, beat cream cheese until smooth, scraping down sides of bowl as needed. Gradually add sugar, and beat until combined. Beat in vanilla.
  3. Drizzle in eggs, a bit at a time, beating to combine and scraping down the sides of the bowl as needed. Beat in sour cream and salt. Stir in chopped cookies by hand.
  4. Divide batter evenly among cookie-lined cups, filling each almost to the top. Bake, rotating pan halfway through, until filling is set, about 22 minutes. Transfer to wire racks to cool completely.
  5.  Refrigerate at least 4 hours (or up to overnight). Remove from tins just before serving.


Saturday, February 4, 2012

Mexican Night & S'mores Stuffed Cookies

So last month, I had another one of my classy dinner parties. This is usually how the food parties come about: I find a really exciting baking recipe on Tumblr or foodgawker that I want to try out (in this case, the S'mores stuffed chocolate chip cookies) and I know how much everyone loves my baking, so I invite people over. Then I realize that I can't just serve dessert so I scramble to find something that looks simple to actually cook.
Pastas are usually my go-to dinner because cooking meats intimidates me and everybody loves pasta!
Don't get me wrong, I love eating meat. Cooking it, however, gives me the heebie jeebies. What if I don't cook it all the way? What if I give all my friends salmonella? What if I overcook it and it's dry? Pasta is flawless and can usually be made without meat.
But here was the problem: I made pasta for the last cooking party because it was Italian themed and I needed to change it up a little. That's when I found a recipe for "Chicken Enchilada Spaghetti". Genius. We were having Mexican night and I was going to overcome my fear of cooking raw meat. (Recipes at the bottom)


Now, when I saw the recipe for this, I was skeptical. Sure the picture made it look good, but it said nothing for the taste. Plus, enchilada and pasta seems like a weird combo, not to mention my fear of cooking meats.


Boy was I mistaken. It was delish! And it was pretty quick and easy too. 

So we moved on to dessert (my comfort zone)

I could stare at this for hours
I whipped up some cookie dough while I had some of my friends make mini s'mores to go inside the cookies. We had to shrink the s'mores down so they could fit inside the cookies. For each mini s'more, we used half a graham cracker, half of a normal size marshmallow, and one or two pieces of a Hershey's chocolate bar. 

All stuffed up and ready to go
The stuffing process was a bit stressful. For starters, the s'more almost always breaks once we started putting the dough on and around it. Also, the cookies are roughly the size of baseballs (unexpected, but there are worse things in life than Godzilla-sized cookies).
We popped those suckers into the oven and waited for the magic to happen

Aren't they beautiful?
Do you see that toasted mark? Breathtaking, am I right?

The bad: the cookies were time-consuming, almost too filling, and the stuffing process was no walk in the park.
The good: um, did you see the pictures?!? THEY WERE AMAZING.
I had some the following morning and they were even better, probably because I wasn't so full from all the pasta.

Chicken Enchilada Spaghetti (from How Sweet It Is)

serves 2-4
1 tablespoon olive oil
1/2 onion, chopped
1/2 green pepper, chopped
1/2 red pepper, chopped
2 garlic cloves, minced or pressed
1 teaspoon cumin
1/2 teaspoon chili powder
1/4 teaspoon salt
1/2 teaspoon smoked paprika
1/4 teaspoon pepper
pinch of cayenne pepper
2 boneless, skinless chicken breasts, cooked and shredded
1/2 pound of dry whole wheat spaghetti
1 10-ounce can of red enchilada sauce
3/4 cup freshly grated sharp cheddar cheese
cilantro for topping
  1. Boil water for pasta and prepare pasta according to directions.
  2. While pasta is cooking, heat a large skillet over medium heat and add olive oil. Add onions, peppers, salt and pepper and let cook until vegetables are soft, about 5-6 minutes. 
  3. Add garlic and cook for another 1-2 minutes, then stir in chicken, cumin, cayenne, paprika and chili powder, along with the can of enchilada sauce.
  4.  Turn the heat down to low, drain the cooked pasta, then add pasta to the skillet too. Fold in cheese and mix thoroughly to combine. 
  5. Toss with a set of kitchen tongs until everything is mixed, then serve with a bunch of fresh cilantro.


S'mores Stuffed Chocolate Chip Cookies (adapted from Picky Palate)
Makes 12 large stuffed cookies
2 sticks softened butter
1 Cup granulated sugar
3/4 Cup packed light brown sugar
2 eggs
1 Tablespoon vanilla
3 1/2 Cup all purpose flour
1 teaspoon kosher salt
1 teaspoon baking soda
2 Cups semi sweet chocolate chips
24 graham cracker quarters or 12 full sheets separated at perforations
3 Hershey Bars, broken into pieces
12 large marshmallows cut in half lengthwise
  1. Preheat oven to 350 degrees F. and line a large baking sheet with parchment or a silpat liner.
  2. In a stand or electric mixer, beat the butter and sugars until light and fluffy.  Add eggs and vanilla, continue to beat until well combined.
  3. Place flour, salt and baking soda into a bowl; mix to combine then add slowly to wet ingredients along with the chocolate chips.
  4. Layer a graham cracker quarter with 1 or 2 Hershey chocolate squares and 1 marshmallow halves.  Close with another graham cracker.  Top s’more with a large scoop of cookie dough.  Place in hands and place another large scoop on bottom then front and back sides as needed.  Form dough around s’mores.  Will get messy, but stick with it, it does not have to be perfect.  S’mores will move around but it’s no big deal.  
  5. Place large cookies onto prepared baking sheet and bake for 15-17 minutes or until edges are golden and centers are cooked through.  Let cool for 10 minutes before transferring to cooling rack or serving plate.


Wednesday, February 1, 2012

First post?

Hi there! I'm just testing out the blog, seeing how it works, exploring and such. Let's get this party started!